
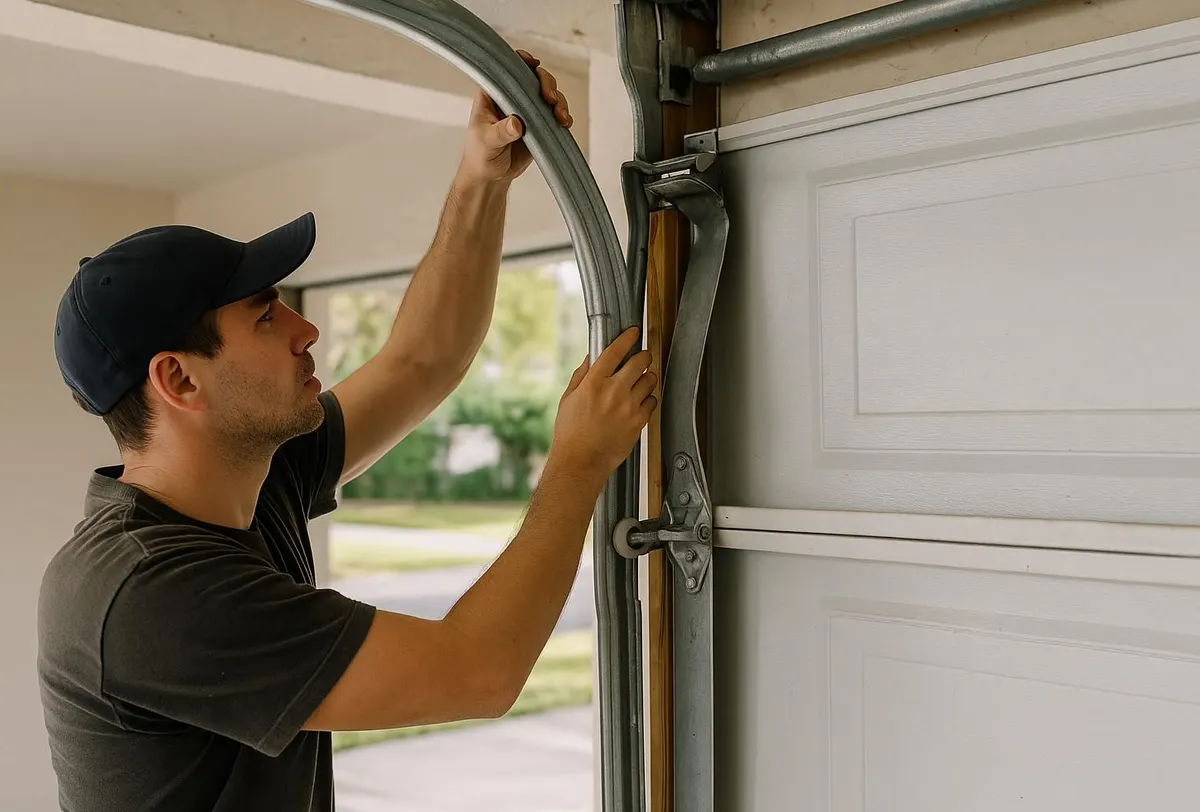
What a Worn-Out Seal Costs You This Winter
Skip this job one more season and here's what you're signing up for: cold air pouring under the door and spiking your heating bill, meltwater and road salt brine tracking in and pitting your concrete floor, mice and spiders finding the gap under the door irresistible once temperatures drop, and fine dust and grit working its way across the garage floor every time the wind picks up. A cracked or flattened bottom seal doesn't fail all at once — it fails a little more every freeze-thaw cycle, and by January you'll be shoveling snow that blew in overnight. The fix is one of the cheapest, fastest jobs in garage door ownership, and most of it is well within reach for a homeowner with an afternoon to spare.
Tools You'll Need
- Replacement bottom seal (bead, T-style, or bulb style — matched to your existing track)
- Replacement vinyl stop molding/weatherstripping for the sides and top, if needed
- Utility knife or sharp scissors
- Tape measure
- Flathead screwdriver or seal-removal tool
- Rubber mallet (for some bead-style seals)
- Shop vac or stiff broom
- Silicone-based garage door lubricant
- A dollar bill or sheet of paper (for the seal test)
Step-by-Step: Replacing the Bottom Seal
- Inspect before you buy. Open the door partway and look at the bottom seal from outside. Flat spots, cracks, hardened rubber, or chunks missing are all signs it's done. Note whether it's a bead/bulb style that slides into a T-track on the bottom of the door, since that determines what to buy.
- Measure the door width. Measure the full width of the bottom panel so you buy enough seal material with a few inches to spare for trimming.
- Clear the track. With the door closed, use the flathead screwdriver to pry the old seal out of the aluminum retainer track. It should slide or pull out in one long piece. Clean out the track with a shop vac or brush — a winter's worth of salt grit and dried mud builds up fast and will chew up a new seal if left in place.
- Dry-fit the new seal. Feed the new seal into the track starting at one end, working it through slowly. Bead-style seals sometimes need a few taps with the rubber mallet to seat fully.
- Trim to length. Once it's seated, close the door and trim the excess with a utility knife so it sits flush with both edges of the panel.
- Check the side and top weatherstripping. While you're at it, look at the vinyl stop molding along the sides and top of the door opening. If it's brittle, torn, or pulling away from the jamb, replace it the same way — pry out the old strip, nail or screw in the new one, and trim to fit.
- Run the daylight test. Close the door fully and stand inside with the lights off. Any daylight you see around the perimeter marks a gap that still needs attention.
- Run the dollar bill test on the sides. Close the door on a dollar bill at a few points along each side. If it pulls out with no resistance, that section of weatherstripping isn't sealing and needs adjustment or replacement.
- Lubricate moving parts. Finish by spraying a silicone-based lubricant on the rollers and hinges while the door is open. This isn't part of the seal job, but it's the kind of five-minute task that's easy to do at the same time and pays off all winter.
What's Fine for a Homeowner vs. What Needs a Technician
Replacing the bottom seal and perimeter weatherstripping on a door that opens, closes, and balances correctly is a reasonable DIY project for most homeowners. It requires patience and basic hand tools, not special equipment.
Call in a technician instead if any of the following is true: the door is off its track or binding as it moves, you notice the door sagging unevenly or slamming down on one side, the bottom panel itself is warped or dented badly enough that no seal will sit flush, or you have an insulated door with a factory-fit astragal seal that requires matched OEM parts. Those issues point to a spring, cable, or panel problem that a seal replacement won't fix — and working around a door with worn torsion springs or frayed cables carries real risk.
When to Call Lake Orion Garage Door
If the door itself isn't moving right, or you're not sure whether the gaps you're seeing are a weatherstripping problem or something structural, that's when to bring in a pro. Our Garage Door Maintenance visits include a full inspection of the seals, hardware, and balance, so you catch small issues before the first hard freeze turns them into a stuck door or a flooded floor. If something's already failed — a cracked panel, a door that won't seat, a spring that's let go — our Garage Door Repair team handles it the same week, not whenever we get around to it.
Get your door ready for winter before the snow flies — call Lake Orion Garage Door for a seal and maintenance check today.